How to Make a Bean Bag Chair Cover?
Every Bean bag cover has a specific lifetime. Over time, bean bags covers will lose the elegant look. So, after that period, people want to throw bean bags away from their homes. But do not hurry! You can make a new bean bag chair cover and reuse your bean bag for a longer time.
On the other hand, some people want to prepare bean bags with their own effort. So, they are looking for a helpful guide for that.
Making your own bean bag chair cover might be seen as hard work. But it’s a fun project! Let’s look at how?
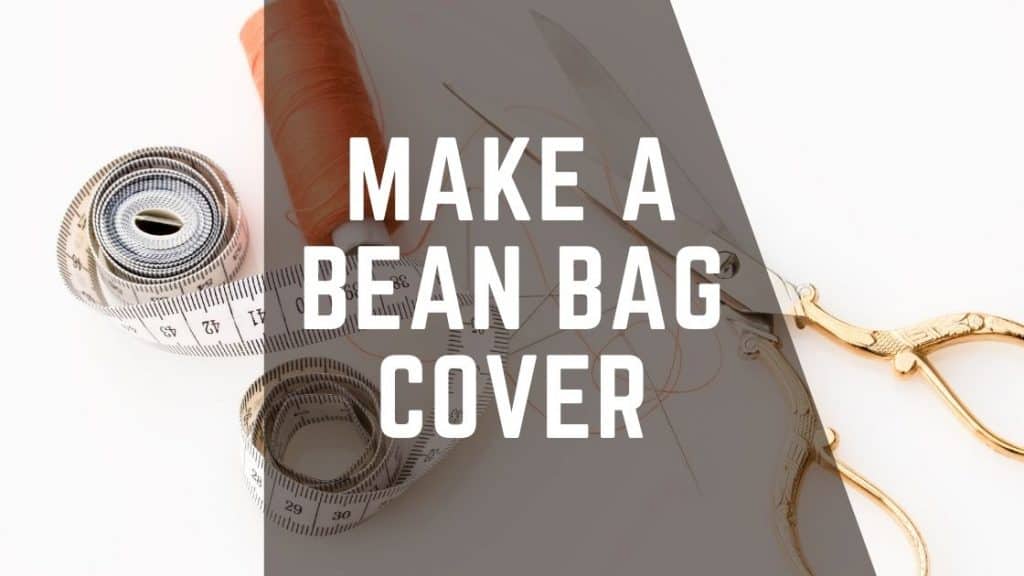
Table of Contents
- Make a Bean Bag Chair Cover for Cylindrical Shape Bean Bag
- Make a Cover for a Tear-Drop Shape Bean Bag
- Final Words
Make a Bean Bag Chair Cover for Cylindrical Shape Bean Bag
Generally, different bean bags come in different sizes and shapes. Thus, you should be cautious that your new cover should fit your existing bean bag with the size and shape.
Please go through the following steps to make a bean bag chair cover for a cylindrical shape bean bag.
Required Materials:
- Suitable Fabric
- Zipper
- Sewing machine
- Threads
- Scissor
- Pins
- Measuring tape
- Pencil
You can use any fabric that can give enough comfort. The velvet, suede, fur faux, silk, cotton, and linen fabrics are ideal for bean bags. However, if you want to take a casual appearance, use denim fabrics. In addition to that, you can use printed materials too.
However, if you are going to create a bean bag cover for a toddler bean bag, you need around 3 yards of fabric. Also, to make an adult bean bag, 6 yards of materials are required.
Step 1: Remove your old bean bag cover
If you can remove your bean bag cover, it is better. Because then you can use it as a stencil for the new bean bag cover.
However, removing the old bean bag cover might not be easy. You can take length and width measurements of the bean bag to prepare the fabric blocks.
Step 2: Measure the length, width parameters of the bean bag
Measurements from existing bean bag
If you have a cylindrical shape bean bag, take the following measurements.
- Diameter of top and bottom circular shape fabrics (Mostly these are same)
- Perimeter of circle
- Height of the bean bag
According to these measurements, you can create the following fabric blocks.
- Two cylindrical shape fabric pieces
Phase 1: Divide the diameter of the circle by two and take the radius of the circle (diameter/2)
Phase 2: Then, draw two circles with the same radius in the new fabric.
Allow 2, 3 inches from the radius for a sewing purpose.
- Rectangular fabric piece
Phase 1: Here, take the circle’s perimeter as the length of the rectangular fabric piece
Phase 2: Then, take measured height as a width of the fabric.
Phase 3: Now, draw this rectangular on fabric and allow a few inches for seaming purposes
Measurements for a new bean bag
Don’t you have a bean bag already? Are you going to prepare your first cylindrical shape bean bag cover? Then you also need to have two circular fabrics and rectangular fabric pieces.
Here, you can take the diameter of the bean bag according to your preference. If you need good space to sit and lay down, take at least 3 feet (36 inches) diameter or 18 inches radius for circular fabric.
Moreover, 1 to 1.5 feet (12 inches- 18 inches) is a good height for a bean bag. However, decide the height that is more suitable for your requirement. According to the perimeter of that circular fabric, you can take the length of the rectangular fabric piece.
Step 3: Cut these fabric pieces
Here, you have to allow a few inches from drawn lines for sewing purposes. Then cut the fabric pieces.
Step 4: Set circular fabric piece at the one edge of the rectangular fabric and sew it
Here you can use pins to set these fabrics together temporarily.
Step 5: Set zipper to the rectangular fabric piece and sew it
Use opposite edge to join zipper.
Step 6: Enclose the width side of the rectangular fabric
Here you should fold the edges of the material to the inside of the bean bag. If not, it will give a cheap look to your bean bag.
Step 7: Set circular fabric piece to the zipper and sew it
When you are sewing, follow the drawn lines. Also, fold and insert the sewing part inside of the bean bag. Then you will receive a nicely finished bean bag cover.
Make a Cover for a Tear-Drop Shape Bean Bag
Do you have a tear-drop shape bean bag? Then, you can follow the same methods I mentioned above.
The only difference is, here you want different shape fabrics blocks. However, if you already have a tear shape bean bag, this task is getting easy.
You just have to take an old bean bag shape as a stencil. Then draw and cut fabrics according to it. After that, follow the above process for sewing.
But if you do not have a tear-drop bean bag, do not panic! I will tell you the required materials and the best method to make it.
Required Materials:
- Suitable Fabric
- Measuring tape
- Zipper
- Sewing machine
- Threads
- Scissor
- Pins
- Pencil
Step 1: Take a suitable fabric
First, you can select linen, velvet, cotton, or suitable fabric for your bean bag cover.
Step 2: Draw the block designs.
Here you need four fabric pieces with two shapes. The shapes are circular and triangular. The triangular shapes create the seating area of the bean bag.
- Circular shape fabric
The circular fabric piece is set into the bottom of the bean bag. So, draw a circle that has 18 inches radius (36 inches diameter) to make a circular shape piece.
However, if you want a giant bean bag or a small one, you can decide the ideal radius for the bottom of the bean bag.
- Four triangular shape fabrics
Phase 1: The size of triangular fabrics depends on the perimeter or circumference of the circular shape fabric.
If you want to calculate the circumference, use the 2*pi*r equation or this calculator.
Phase 2: Then divide that circumference from four (circumference/4)
That is the width measurement of the baseline of the triangular.
Phase 3: How much height do you want for your tear shape bean bag? Is it 3 feet or 4 feet?
You can select your preferred height. Then take that height as a triangular height.
Phase 4: Draw a rectangular that same for the triangular height and width
Phase 5: After that, mark the middle point of the width of one edge
Phase 6: Draw a triangular that finish at that midpoint
Now you know the exact method of the triangular pieces preparation process. So, draw four triangular using the firstly sketched one.
Step 3: Cut the drawn fabrics pieces
Allow 1 or 2 inches from drawn lines and cut the fabrics. This extra fabric space is essential for sewing.
Step 4: Join each triangular fabric piece to circular fabric and sew them.
Use pins to attach materials temporarily. As I mentioned above, this circular fabric is the bottom side of the bean bag cover.
Step 5: Set the zipper between the two triangular fabric pieces and sew it.
The zipper size should match with the side edges of the triangular.
Step 6: Set the edges of triangular fabrics together and sew them.
Now, set the zipper between two triangular pieces. Then, set other triangular together.
Step 7: Done
Now you have a beautiful bean bag cover. So, add your bean fillers to it and enjoy the day.
Final Words
Besides these common shapes, there are some other shapes available in the market. However, do not worry about the shapes. If you think freely, you can create any bean bag cover pattern at home. You just need to use the existing bean bag cover as a block or stencil.
After preparing the correct bock designs of fabric, you can go for a sewing process. It is not a big task. If you are a beginner, you may have to spend 2,3 hours on bean bag cover preparation. But if you gain some skills, you can create a bean bag cover within 1 hour.
Always keep in mind “your first attempt will not be a superior one. But it is the first step for the superior end.” Hence, try and learn. Creating a bean bag cover is not complex as rocket technology!. Learn and Try!